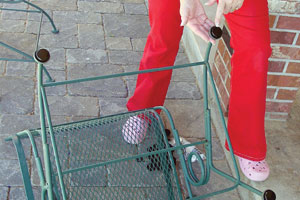
1. Remove Old Glides
1. The first thing to do is turn the furniture over and remove any remaining glides or parts that may be inside the steel cups. Using a screwdriver or old knife can help pry the old glides out. Please be careful with any tool!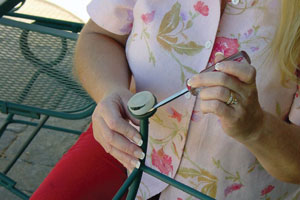
2. Properly Clean & Dry
2. It is important to really clean out the metal cups. These are usually a bit dirty and even home to small bugs. It is critical that you DO NOT use any oily products, like mineral spirits, for cleaning. A little acetone or lacquer thinner works great, or even products like 409. Cleaning really well and letting them fully dry is VERY important before installing.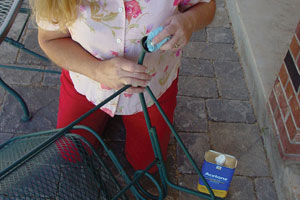
3. Prep Note
3. If your furniture is in disrepair (missing cups or cups worn flat) now would be a great time to find a local weld shop and have them do some repair. If your cups look good, you might use this opportunity to do a good cleaning and buy a few cans of spray paint. It is amazing how good you can make old, tired furniture look after a little paint and some replacement glides!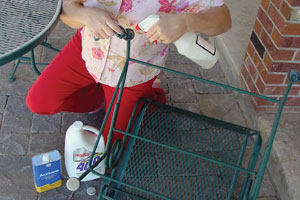
4. Remover Center If Necessary
4. We find it easiest to put on one side of the foam on the glide first. You can pop out and discard the center, round foam cutout IF the weld-blob in the metal cup looks bigger than a pebble. If the surface inside the cup looks fairly flat, you can just leave the center within the disc.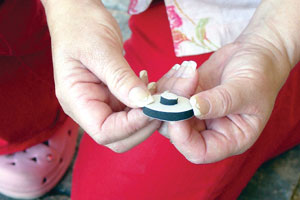
5. Remove Paper Liner
5. Now it is time to peel the first liner away. We think it is easiest to press your fingernail into the side of the foam, just below the liner. The liner then pops free and can easily be lifted away.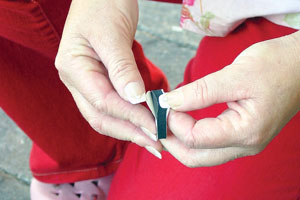
6. Apply Foam Disc
Now put this freshly exposed adhesive directly onto the “web”, not the smooth side, of the Forever Glide body. Try to center it, and press firmly. Then, remove the remaining liner paper in the same way as above.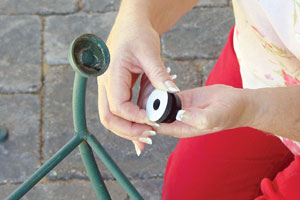
7. Remove Paper Liner
7. Remove the remaining liner paper like you did above.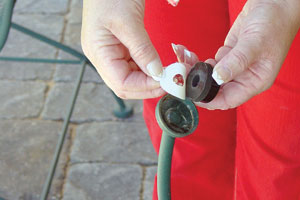
8. Push Into Metal Cup
8. Now, push the whole assembly into the metal cup, agin trying to center it. This is where the nice clean cups are real important! It is ok if the glide and foam assembly is not real tight against the sides, this actually helps the glides do their self-leveling when you turn the furniture back over.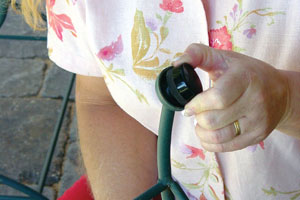
9. Final Step
9. proceed to do all the other legs and peices in the same way. Set the furniture upright, move them around, and admire your work! Now you can figure out when to have your next party or when to invite your family and friends over for a get-together, 'cause everything looks and works so much better now plus your floors and deck are now safe and protected. Don't forget to tell them about the glides!