1. Remove Old Glides
1. Turn the first chair over and remove any old glides. If some are bent or stuck, you may need to use some pliers, but most of the time they’ll just unscrew.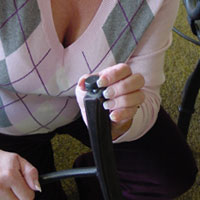
2. Test Fitting
2. Take out the two sizes of push-fit fasteners and do a test-fit of the size that will work for you. If you start to put the small one in and it just falls in or out—just put the small ones aside, you won’t be using them for this project. If the tip of one just starts to grab the first threads, you probably have the right size. DON’T PUSH IT ALL THE WAY INTO THE HOLE YET, they can be very difficult to remove.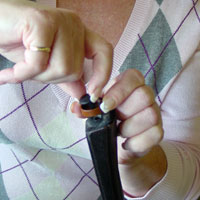
3. Push Into Legs
3. Now push the correct size of push-fit through the hole on all of the cups. Make sure the smooth side of the cup goes against the chair leg and the cupped side stays out. Push this assembly into the threaded holes on the legs. Sometimes this can just be done by hand, but a small hammer and/or punch can make it easier. Just tap the push-fit through the cup and onto the leg so it is firm.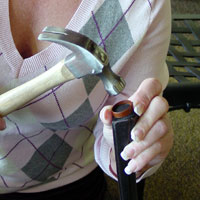
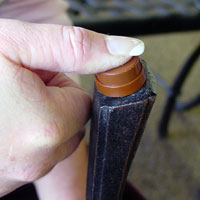
4. Remove Paper Liner
4. Now remove just one side of liner paper from a foam disc. We find it easiest to press your fingernail on the side of the foam, just under the liner. This helps the liner to “pop” free and be removed.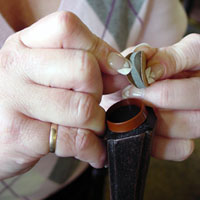
5. Add Foam Disc
5. Try to center it and press it firmly onto the “webbed” side of the glide body. Those webs actually reinforce the glide for strength and help the adhesive foam to grip. We usually just do this step to all the glides at once.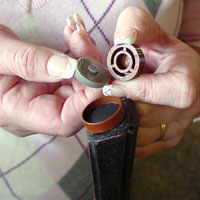
6. Remove Final Paper Liner
6. Remove the remaining liner paper like you did in step 4, and press the glide/foam unit into the cup that was installed in the last step.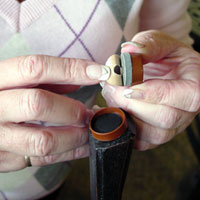
7. Push Into Cup
7. Insert into cup installed on chair leg.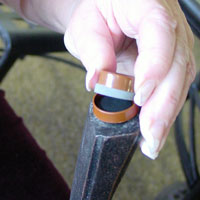
8. Final Step
8. Use two thumbs to make sure it makes good contact. Go around and do this to all the legs, then turn the chairs back over. They can be used immediately, but the foam gets most of its strength within 24 hours. Now you have furniture that fits your floor!